Timing Quick Start: 10 Easy Steps for Time Tracking Success
Timing is one of the most powerful time-tracking apps available for Mac. But that doesn't mean it has to be complicated — follow the steps below and you'll be tracking your time like a pro in just a few minutes!
Here at Timing, we are all about saving you time. Hence, we'll keep this short, with a few optional avenues to dive deep in case you want to learn more. We even generated an audio overview over Timing using Google's NotebookLM so you can save even more time by learning about Timing while doing the dishes or walking the dog. Please note that this audio overview is AI-generated, but it should give you a good overview of what Timing is all about:
Table of Contents
Before We Begin
Before we cover each lesson in detail, let's take a minute to appreciate the foundation of how Timing will make your time tracking less painful:
- Timing runs in the background, automatically tracking what apps, documents and websites you spend time on.
- You categorize these times using drag and drop, using the ⌥ key to create rules.
- To cover the remaining 20% that would take the most work to categorize, you create time entries via the timeline to quickly cover large chunks of time and have full control over how your time is allocated.
Following this workflow for a few days will save you a ton of time in the long run. The following video also demonstrates this workflow:
The more rules you create by dragging with the ⌥ key pressed, the less time you'll need to spend categorizing activities manually, creating a compounding effect. And instead of trying to categorize every last bit of your time, consider allocating large chunks of your time using (manual) time entries. More on those later.
With that out of the way, let's get started!
Step 1: Create a Project to Categorize Your Times
Timing can track how you spend time on your Mac even without you setting up any projects. But let's be honest, your time-tracking data will be much more useful if we apply a bit of categorization to it.
To achieve that, let's launch Timing, then create a project by clicking the '+' button in the sidebar's project list:
Among other things, you have the option to have Timing automatically assign activities containing the project's title in their title or path to that project. But we'll get to that later. For now, just enter a title and press "Save Project".
In case you do already want to learn more about all the cool things you can do with projects, check out this article from our knowledge base:
Step 2: Assign Time to Your Project
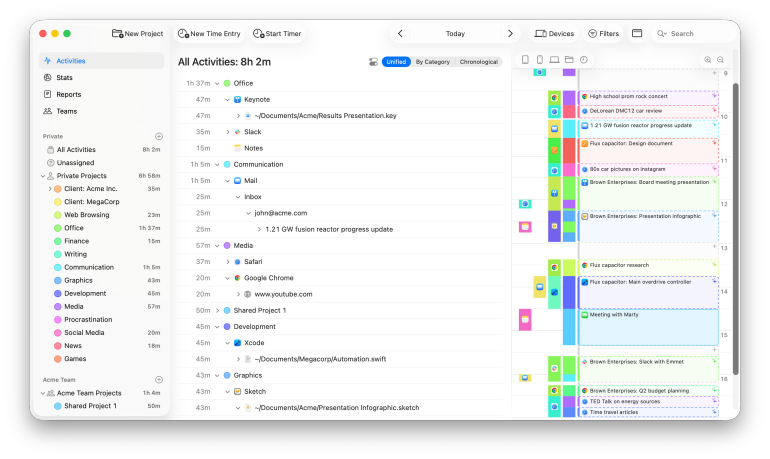
Great! Now that we have created our first project, it is time to assign some activities to it. To achieve that, please make sure that "Activities" is selected in the sidebar. You'll see a grouped list of all the things you worked on:
Now, go ahead and drag an item from the activity list onto a project:
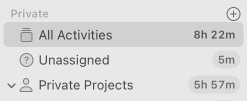
Notice how the duration "pills" in the sidebar change to reflect these times being part of a different project now.
Step 3: Create Rules
We already discussed how you can assign time via drag-and-drop. But dragging the same kinds of activities onto the same projects over and over again gets old very quickly.
As a solution, we briefly touched on Timing's concept of rules already, but rules are so important that they deserve another mention: Setting up just a few rules can easily reduce the amount of manual categorization needed by 80-90%.
When you keep the ⌥ key pressed while dragging an activity onto a project, Timing will automatically assign all future activities of this kind to that project as well.
You can compose even more powerful rules manually using Timing's rule editor; to learn more about that, please have a look at our documentation:
Step 4: Create Time Entries
But not all of your work happens in front of your Mac. That's why Timing also supports manual time entries.
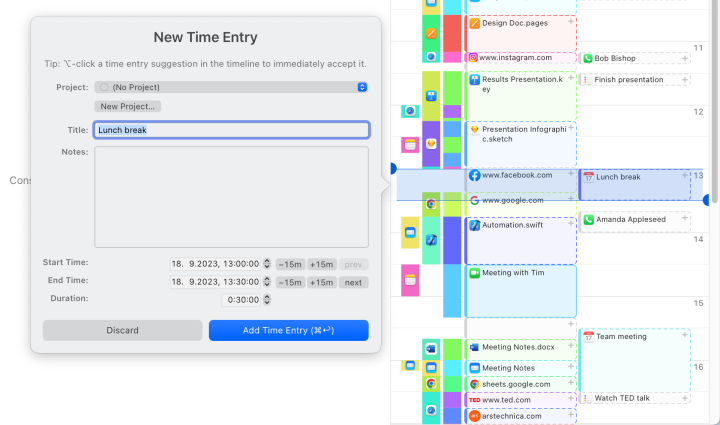
To create your first time entry, go to the "Activities" screen. You'll see several colored blocks with '+' signs in the timeline; these are Timing's time entry suggestions for blocks of time that belong together. They'll even include a short summary of what you did during that time if you have enabled Timing's AI summaries feature.
Click one of these blocks, then enter a description of what you did and press "Add Time Entry":
Over time, Timing will learn which time entries you use frequently and start suggesting them again. And the more of your app usage you assign to projects, the better Timing's block suggestions will become. It's a virtuous cycle!
And because time entries are so important, Timing offers several more methods of creating them. This lets you pick the most convenient approach for any given situation:
Step 5: Start a Timer
When you already know what you are going to work on next, it makes sense to commit to this task by starting a timer for it. This helps put your brain into "focus mode", helping you concentrate on the task at hand — and nothing else.
To do so, click the Timing tracker app sitting in your Mac's status bar and hit "Start Timer…":

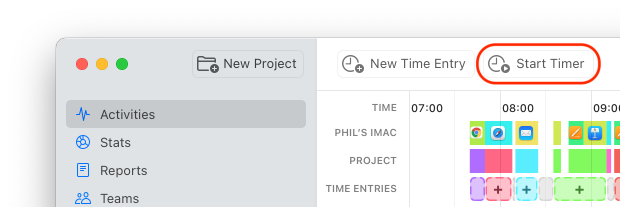
Alternatively, this feature is also available from the main Timing app's toolbar:
When you start a timer this way, Timing will ask you for a few details, then assign all subsequent activities to this time entry until you stop it. Timing will also confirm whether you are still working on that timer once the estimated duration has elapsed.
Step 6: Connect Your Calendar
Timing can show your calendar entries right on the timeline and create time entries for them.
This helps you ensure that each and every meeting is accounted for and billed.
To set up the calendar integration, click this link, then grant the required permissions and select which calendars to use.
Once that's done, your calendar events will start showing up on the timeline:
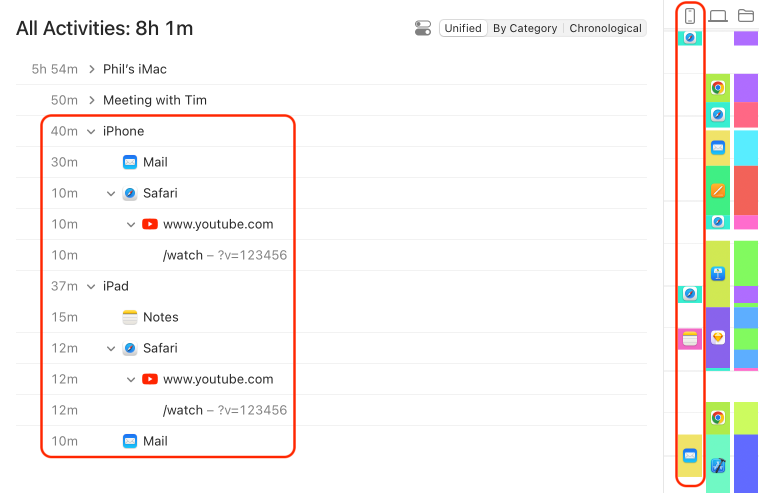
Step 7: Incorporate iPhone and iPad Usage
Up until now, we've only covered tracking your Mac usage. But that's missing half of the picture — what about your iPhone and iPad usage?
For this, Timing can import your iPhone and iPad usage from Screen Time. That way, you can manage your time spent on mobile devices just like your Mac usage, with the full functionality of Timing's timeline and activity list. Even Timing's rules are available to automatically categorize your mobile device usage!
To set this up, simply open the Timing Screen Time integration preferences and follow the steps there. And if you'd like to learn more about this feature, our knowledge base has you covered:
Step 8: The Stats Screen
By now, Timing has probably gathered quite a bit of time-tracking data for you. Let's talk about actually gathering insights from all this information!
To start, click "Stats" in the sidebar. You'll be greeted with a bunch of statistics on how you spend your time:
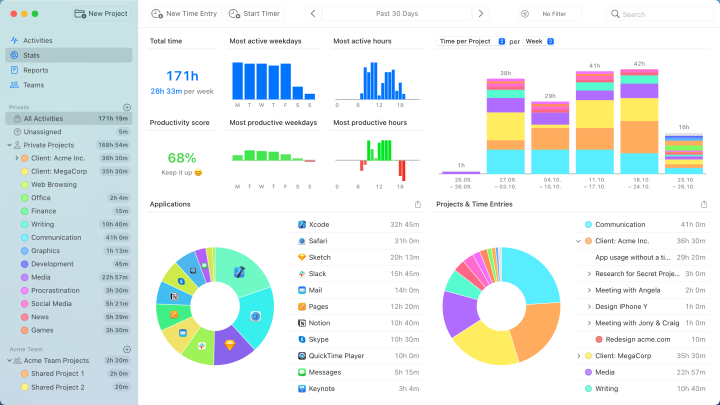
Here's what these charts tell you, and why they are useful:
- Total time. You can see how much time you spent in total in the selected date range and when you worked the most.
- Your productivity score. Gives you a quick estimate of how much you got done and when during the day and week you are the most productive.
- A bar chart showing how your time is distributed across projects and weeks, hours or days.
- A pie chart showing which projects you spent the most time on. If there's a lot of distractions showing up here, try to identify what they are about and limit the time you spend on them.
- A pie chart showing which apps you used the most.
It also has a small 'Share' button in the top right, in case you want to celebrate your achievements by sharing an overview of your time.
Step 9: Generate Reports
The "Stats" screen gives you a good general impression of where your time went. But what if you want more detailed information, or need to bill your clients? Enter the "Reports" screen, available from the sidebar:
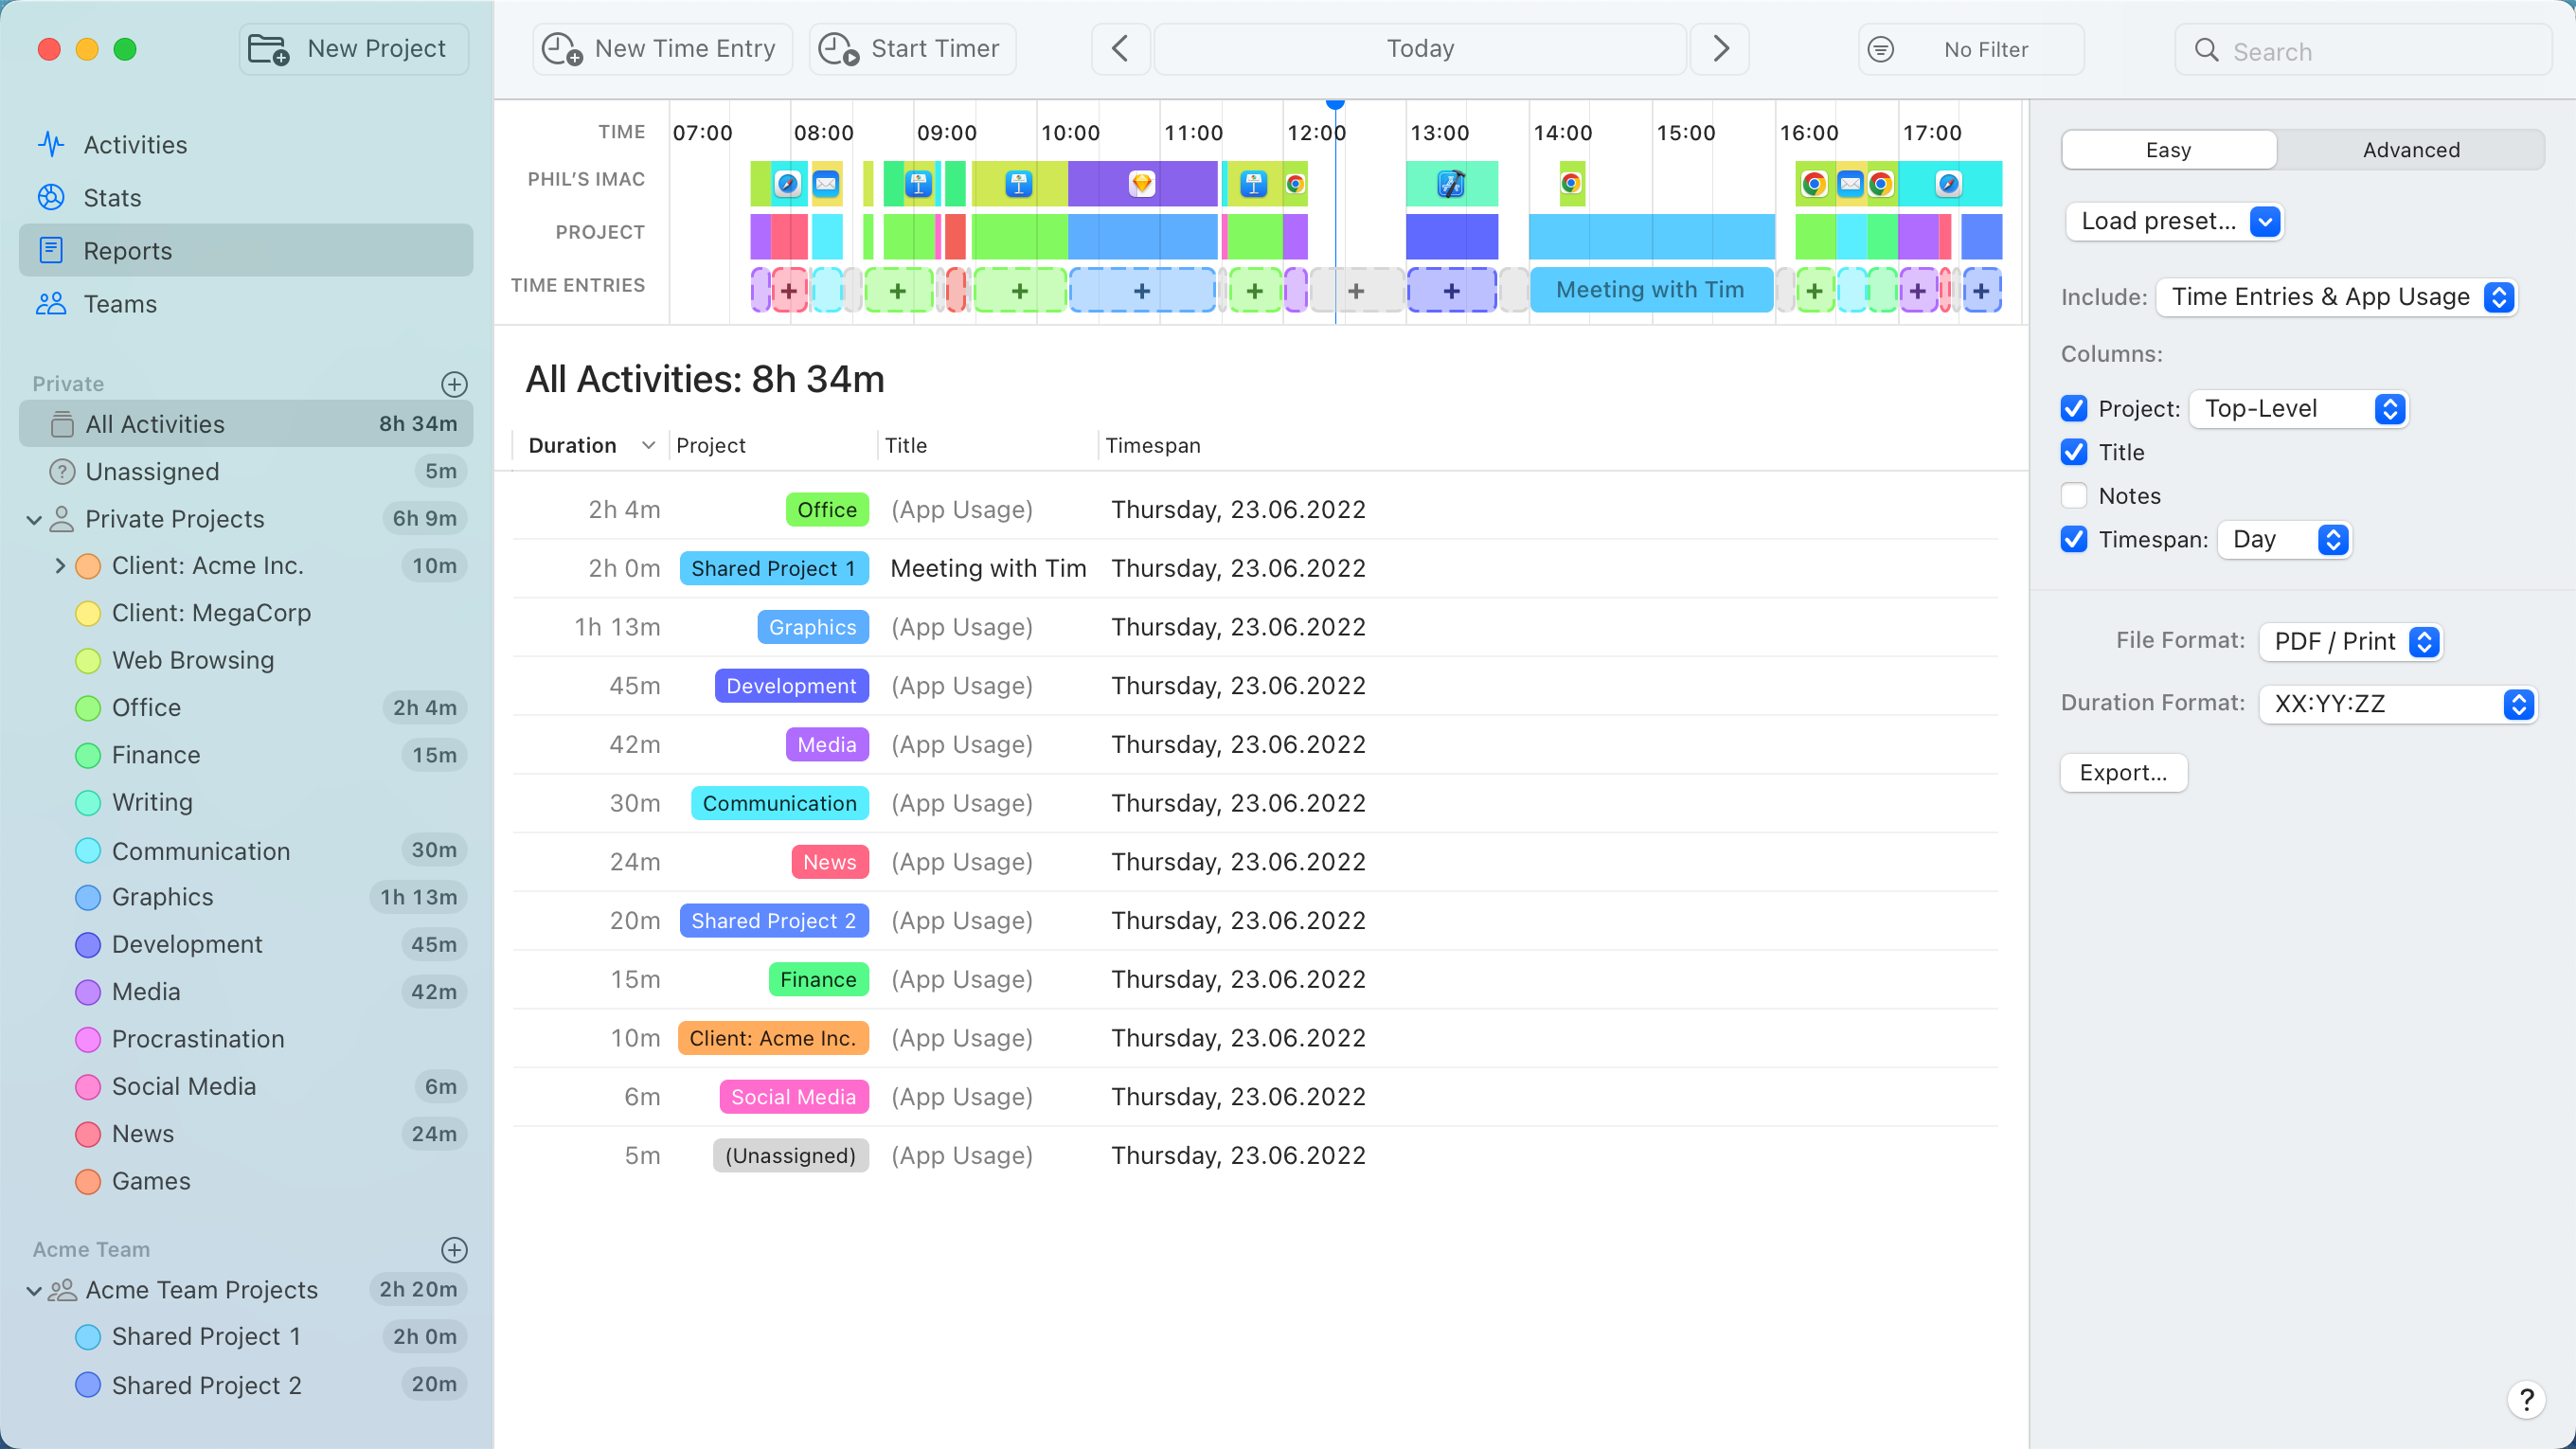
You can restrict the data shown on this screen by selecting one or more projects in the sidebar, or selecting a different date range in the toolbar.
The "Reports" screen also gives plenty of options for processing and presenting your data to generate exactly the report you need. You can also export reports in Excel, CSV, PDF, or a few other formats.
You can find out how to use each option on this screen in our knowledge base:
Step 10: Use the Web App
Before we finish the course, let's look at one more important part of the Timing ecosystem: The web app!
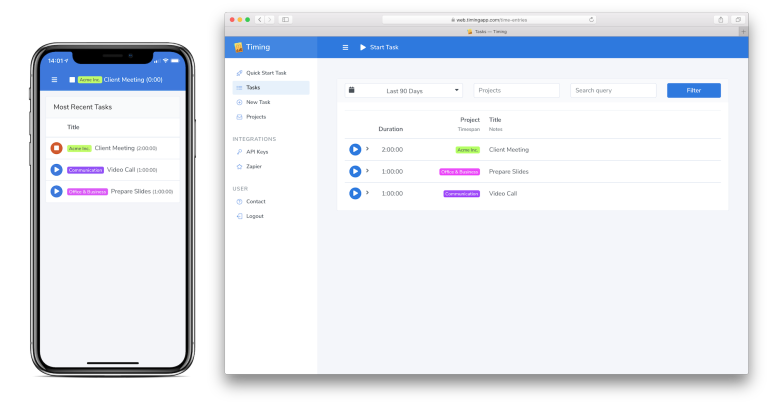
The Timing web app lets you access your data from anywhere. This makes it a very flexible tool for a variety of use cases:
- It can be installed on your phone, letting you quickly start and stop timers on the go.
- Through the Web API and the Zapier integration, you can connect Timing to a variety of other services.
- It lets you manage your team and view their time entries.
To access all this functionality, make sure that you are signed up for a Timing Sync account, then open web.timingapp.com in your browser.
And if you'd like to explore more of what you can do with the web app, have a look at this dedicated article:
Bonus Step 11: Sharing Is Caring
Tracking time by yourself is all good and well. But tracking it together is twice as fun!
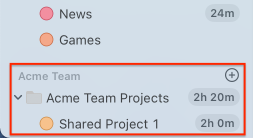
Luckily, Timing also offers team functionality that lets you share projects with the whole team. This can be useful to manage or bill projects, improve efficiencies and profitability, or to understand the team's current capacity:
And view your team's time entries in a manner that preserves their privacy:
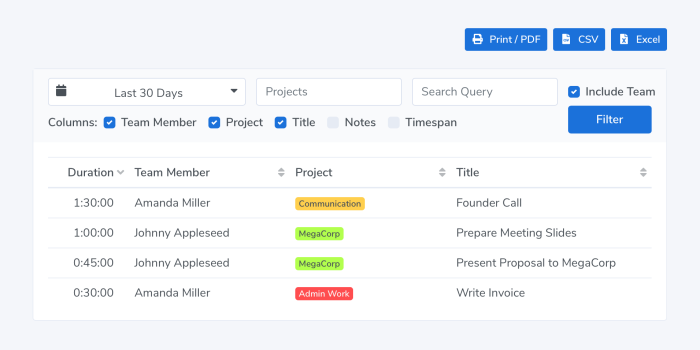
Team members can continue to track time towards private projects that only they have access to. Only the time they track towards the team's projects will be visible to their manager. In addition, managers can't monitor which apps, documents and websites their team members use — all they get to see are aggregates. This preserves the privacy of each person on the team.
To get started, create a team in the Timing web app and invite your colleagues, or learn more about this feature first:
Conclusion
Congratulations, you've made it to the end of the course!
By now, you should have a good overview of how Timing can help you track time more efficiently than ever before. We hope that you'll continue on this journey with us!
If you'd like to further explore what Timing can offer you, we recommend having a look at our knowledge base — it provides plenty of in-depth articles and resources to make the most of Timing. And if you have any questions, we are always available via the contact form.