How to Structure Your Timing Projects When Working with Multiple Clients

If you’re already a user of Timing, then we don’t need to tell you how time tracking can seriously improve your productivity, earning potential, and attitude.
Facebook even recently announced that it will allow users to track and limit the amount of time spent on its social media app to have a positive impact on mental health.
And, as a Timing customer, you likely immersed yourself in (or hopefully at least skimmed) our email course during your first week of playing around with the app.
Timing offers a lot of capabilities and features, but your situation might not require every single one. To get the most out of our software and become as efficient as possible when tracking time, we rounded up our best tips and tricks in one place.
Assessing Your Needs
Before we get started, define your own individual needs and goals when it comes to time tracking.
If you’re a freelancer, you’re likely looking to track every working minute of the day to accurately bill clients for projects. You might also be looking for holes in your schedule to fill with new assignments.
As a student (don’t forget that we offer a student discount!), you probably want to take more of a holistic approach to tracking time so you can balance classes, assignments, and social obligations. Also, don’t forget to check out our article, How to Make This School Year Your Best Yet, to help get this semester off to a great start.
Are you an employer? Then you’ll want to ask your employees to track what they are doing on company time—whether it’s to properly allocate hours to certain accounts or activities, or to boost office productivity.
And lastly, as a power user, you just want to optimize your Mac experience and ensure you are getting the most out of your machine and your time to increase productivity.
Regardless of your primary reason for using Timing, it could also be beneficial to track time spent on activities outside of work or school. Monitoring exercise, time with friends and family, or important self-care could have a positive impact on your mental, physical, and emotional health. All this is of course possible with Timing.
With that out of the way, here are the main offerings of Timing.
Choosing Your Structure

Once you decide what you’d like to track, it’s time to decide how to structure your categories.
There are four main terms we use when talking about organization within Timing:
- Client: A good overarching indicator to use if you have multiple projects for one client.
- Project: A bucket for your time. (You can also create sub-projects.)
- Activity: A certain action for a project.
- Task: A block of time during which you worked on a particular thing.
Note that clients and activities have no separate representation in Timing; you can simply create these as parent projects or sub-projects as needed. We are going to explain this in more detail below.
For example, say you are a writer. There might be a number of projects happening for a client (such as a website redesign, social media support, and an ongoing blog).
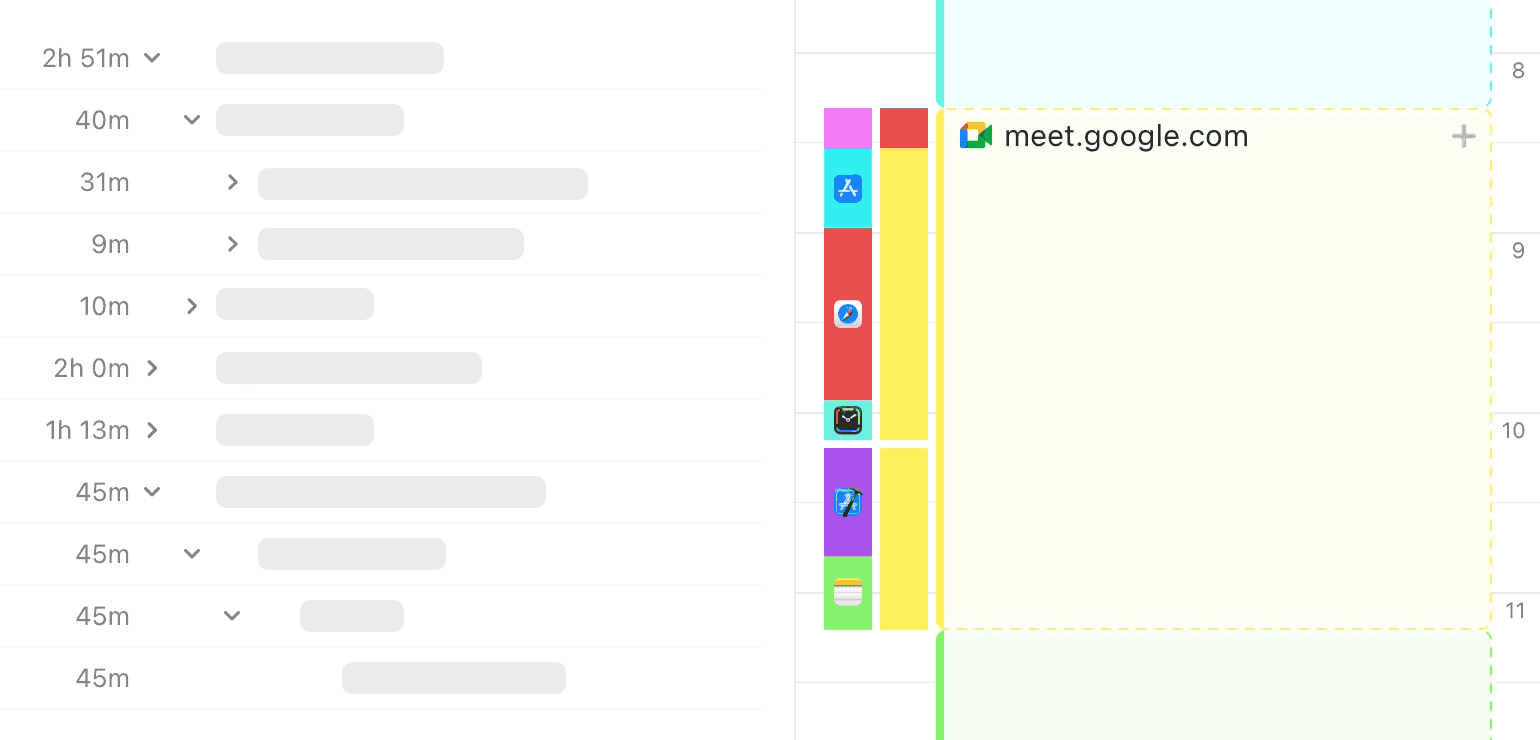
Each of these might include various activities (research, writing, editing) that you need to account for under that specific project for the client. Tasks could then include an issue number, or a particular project management indicator (e.g., a Trello card name). You can add these tasks by clicking the “+” sign at the bottom of your timeline:
Each of these levels will be color-coded accordingly to match the client—so you or your employer can properly account for time spent on that account. In addition, you’ll be able to easily see in your timeline what you’ve specifically been doing for that client in your categorized rows.
Your project hierarchy in this case would look like this:
Client > Project > Activity
- The title of the first-level “Client” project could e.g. be: Acme Inc.
- The title of the second-level “Project” project could be: Corporate Blog
- And titles for the many possible Activity projects could include:
- Brainstorming blog topics
- Researching statistics/supporting materials
- Writing
- Editing
- Finally, you can add tasks via your timeline for specific blocks of time:
- Work on Article A
- Work on Article B
- Work on Article C
All time tracked to these tasks and activities will be color-coded under the project, which will show up under that client.
In general, a “Client” can be considered an overarching project folder for an account or school course. Don’t have multiple projects for a client? No problem. You can skip the “Client” section, start with “Project,” and add activities as sub-projects.
You could even qualify your social life as a project, add “Meeting up with friends” as an activity/sub-project, and enter “Seeing Jane” as a task within your timeline.
Additionally, you can leave out tasks and just account for activities within projects by creating a sub-project for each kind of activity. Or, you forego the “Activity” sub-projects altogether and instead categorize those using tasks only.
And finally, when you are done working with a particular client or project, you can right-click the corresponding Timing project and archive it. That will hide the project to de-clutter your project list. And if you need to access an archived project again, just click “Show Archived” in the project list to make it visible.
Automatic Settings
As you get going, there are shortcuts you can take so that your tracked time automatically gets tagged under the appropriate project.
By pressing the “option” key while dragging a project’s name from the “keyword” list, Timing will create a rule to consistently filter through any documents or apps that include that project name and track it there. This makes it important to title your documents using the project name, so Timing can automatically pull the time spent within them.
In addition, you can view the “Unassigned” tab inside your activities to determine which actions have not yet been assigned to a project. This helps you get a quick view of the time that still needs to be accounted for—no more missed billable hours.
But what if you need to manually track time that’s spent off your Mac? Not a problem. You can enter in calls, meetings, or social engagements and code them to the correct project. Worried you might forget? Timing lets you set reminders when you’re offline so you can remember to log it once you’re back on your computer.
There are also a number of advanced filters for the dedicated power user, and we covered them all in this previous article. Give it a read!
Review & Details Screens
Need to take a quick glance at where your time is being spent? Enter the all-encompassing Review Screen.
First, set the toolbar to your preferred window of time. It could be a day, a week, 30 days, etc.
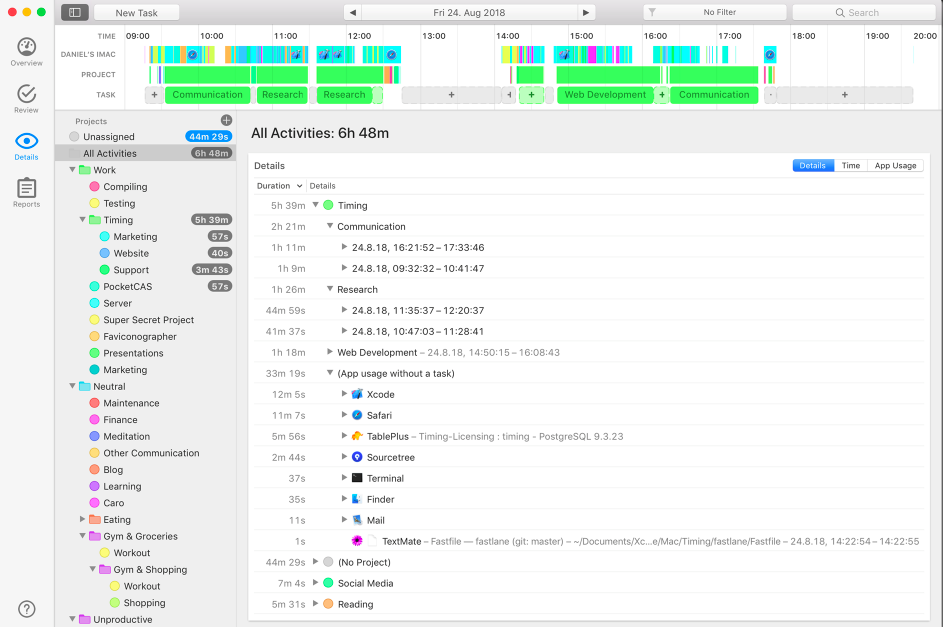
Now you’ll see everything laid out in front of you, easily color-coded for each client or project. If you’d like to explore more in-depth information, clicking “Details” will show you the data for specific projects, activities, or tasks (shown below).
Spending just a few minutes a day assessing your “Review Screen” to either file unassigned time or create new rules will help ensure that up to 80% of your time is being tracked automatically.
Your can also click “Reports” on the left column to, you guessed it, create reports. You might want to show your client, your boss, or your academic counselor. Whatever the case, you can use Timing’s built-in presets or enter your own parameters to customize your report.
Maybe you need to submit a timesheet each day, or maybe you like to utilize the weekly “snippet” method (more on that here). Make the report as detailed as you’d like.
From there, choose the format, click “Export,” and you’re all set.
Productivity Score
A neat feature of Timing is the “Productivity Score.” In order to maximize efficiency, it’s good to get a sense of which projects tend to be your most (or least) productive.
For each project you can manually enter your own productivity score. Your social engagements, though important, would likely rank as less productive than those that align with your health and wellness activities. This will just help you have an understanding of your overall level of productivity.
Pro tip: Always consider time spent toward work for a client as 100% productive because it directly relates to a return (a.k.a., income)!
The Bottom Line
We hope this gave you a crash course on Timing’s main features. Once you understand all that Timing can do, you’ll wonder how you ever got by without it.
Keep in mind that you can always go back to the 5-day email course you received after you signed up to gain more insight, step-by-step.
Reach out to us if you need that course in your inbox again, and remember that we are always here to answer any specific questions about the app. (You can also check out our most common FAQ).
Your productivity is our main focus, and we’re glad that it’s something that is important to you, too.