How to Improve your Productivity in Just 14 Days with the Free Trial from Timing
Is being a highly productive person instinctive – a natural-born trait that some people have and others don’t? Or is it the result of developing great habits and strategically using the right tools?
Here at Timing, we’re in the latter camp. Productivity – key to higher income, more free time, and general peace of mind – can be learned and maintained. That’s great news for those of us who often struggle to focus, or who finish most work days wondering where all the time went. But even professionals who consider themselves decently productive can always improve. In fact, it might even be possible for some to attain a coveted 4-hour workday (or 4-hour workweek!) with the right strategies.
We believe that all it takes is 14 days for you to see significant change in your time usage, improve your habits, and develop better habits toward being a more productive person.
Here’s how to use Timing’s free 14-day trial to assess your current habits, strategically approach your time usage, and set new goals for being a more productive professional.
Getting Started: Create Projects
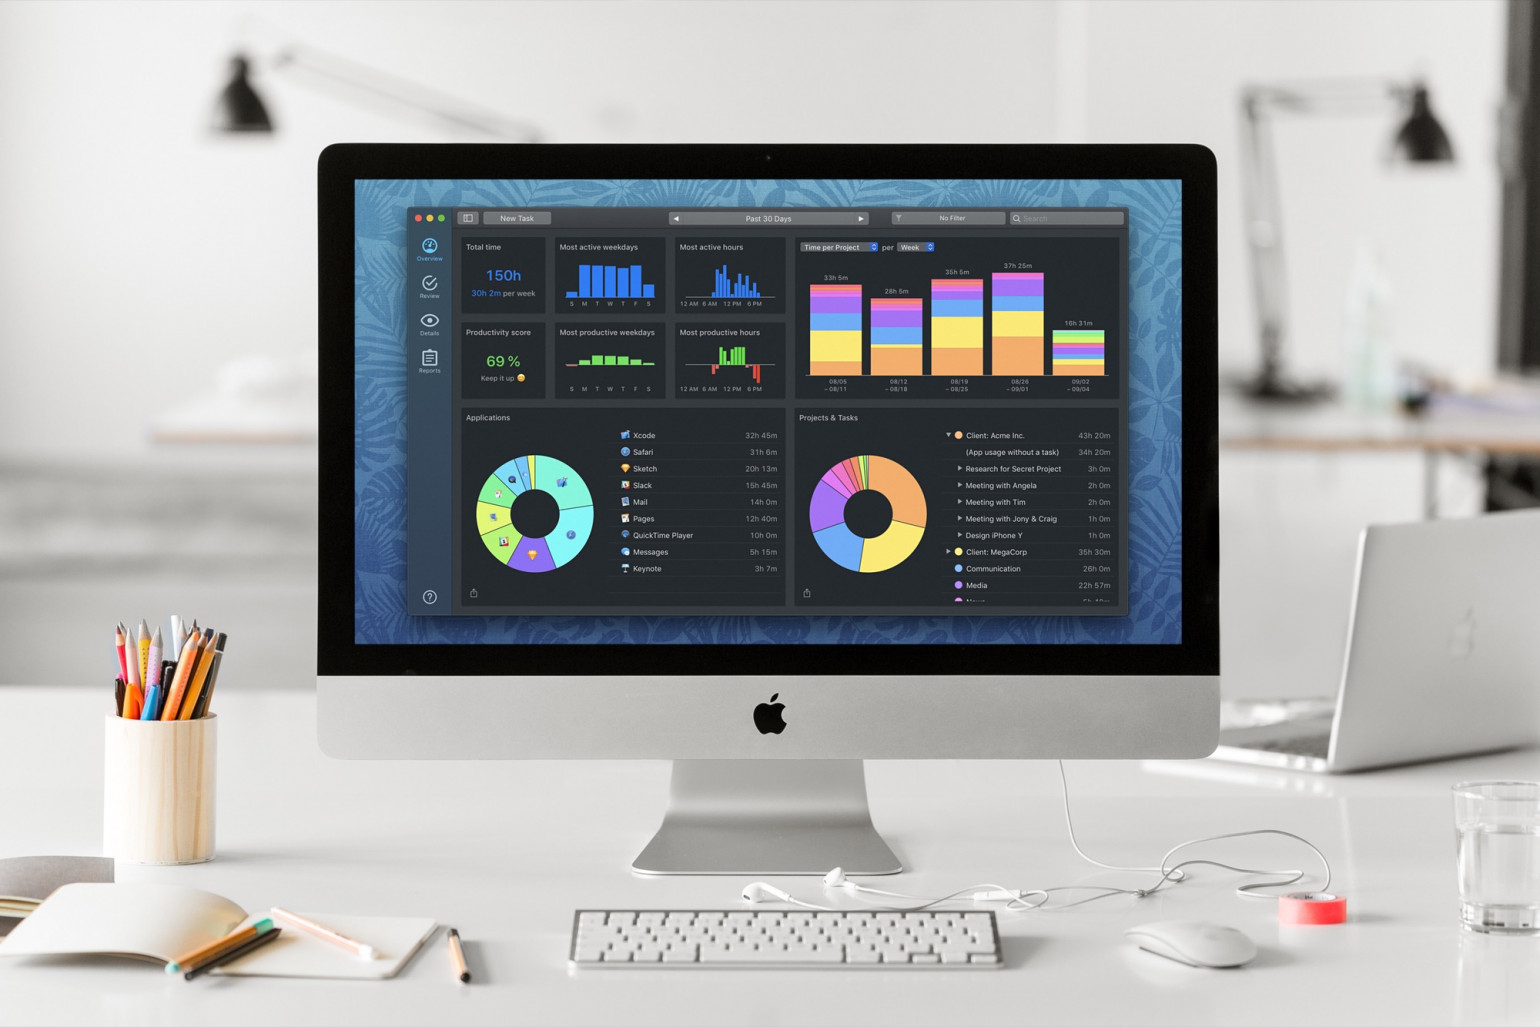
Timing is an automatic time-tracking application, meaning you can leave it completely alone and it will still deliver powerful insights into your time usage. Regardless of what kind of rules or projects you create, you can check Timing’s Overview tab at the end of every day to see how much time you’ve spent on your Macbook, and on which specific applications.
That being said, it pays off exponentially to spend a little bit of time optimizing Timing by creating Projects at the beginning of your trial. Projects can connote actual projects – such as a particular campaign, a video you’re producing, or an event you’re planning – or different clients. How you choose to create projects will depend on your line of work and how you bill.
In any case, creating Projects allows Timing to give you more detailed insight into what you’re actually doing with your working hours – key to attaining greater productivity. (After all, you can work a 10-hour day and still not achieve your goals if you use your time inefficiently).
To create Projects, go to your Review tab in Timing and click on the “+” in the project list on the left hand side. Here, you’ll be able to establish all the details necessary for Timing to correctly categorize your activity into a Project – such as name of Project, highlight color, productivity rating (which Timing uses to generate an overall productivity score), Keywords (which allow Timing to “pick up” related activity), and Rules (which we’ll get to in the next section).
Now, you’re ready to start tracking your time – and assessing your productivity.
Day 1: Review Your Time Usage & Create Rules
At the end of Day 1 of your free trial, head over to your Review tab in Timing and check out how many hours and minutes you worked total. Does the number surprise you? Is it less – or more – than you expected? For example, if you’ve been sitting at your computer from 8 AM to 4:30 PM, but you were only active for 6 hours, you might want to think through your day – what sorts of distractions hijacked your day?
Taking stock of when you’re most active and productive can help you maximize your strengths in strategizing for better personal productivity. Share on XNow take a look at your most active hours and most productive hours. Did you slay most of your tasks in the morning? Or was your afternoon coffee hour the best time to get your work done? Taking stock of when you’re most active and productive can help you maximize your strengths in strategizing for better personal productivity. For example, you may choose to work on your most pressing tasks during these timeframes, and leave less intensive projects or administrative tasks for the remainder of the day.
Finally, take a look at your productivity score. If your score is low (50 or below), then that indicates that much of your work hasn’t been assigned to a particular Project. You may want to take a look at the work you’ve done and spend a few minutes assigning work to the proper Project, and adjusting Rules where necessary (which you’ll learn more about next).
Remember, you can assign (and change) a productivity rating to a Project, helping Timing to produce a more accurate score.
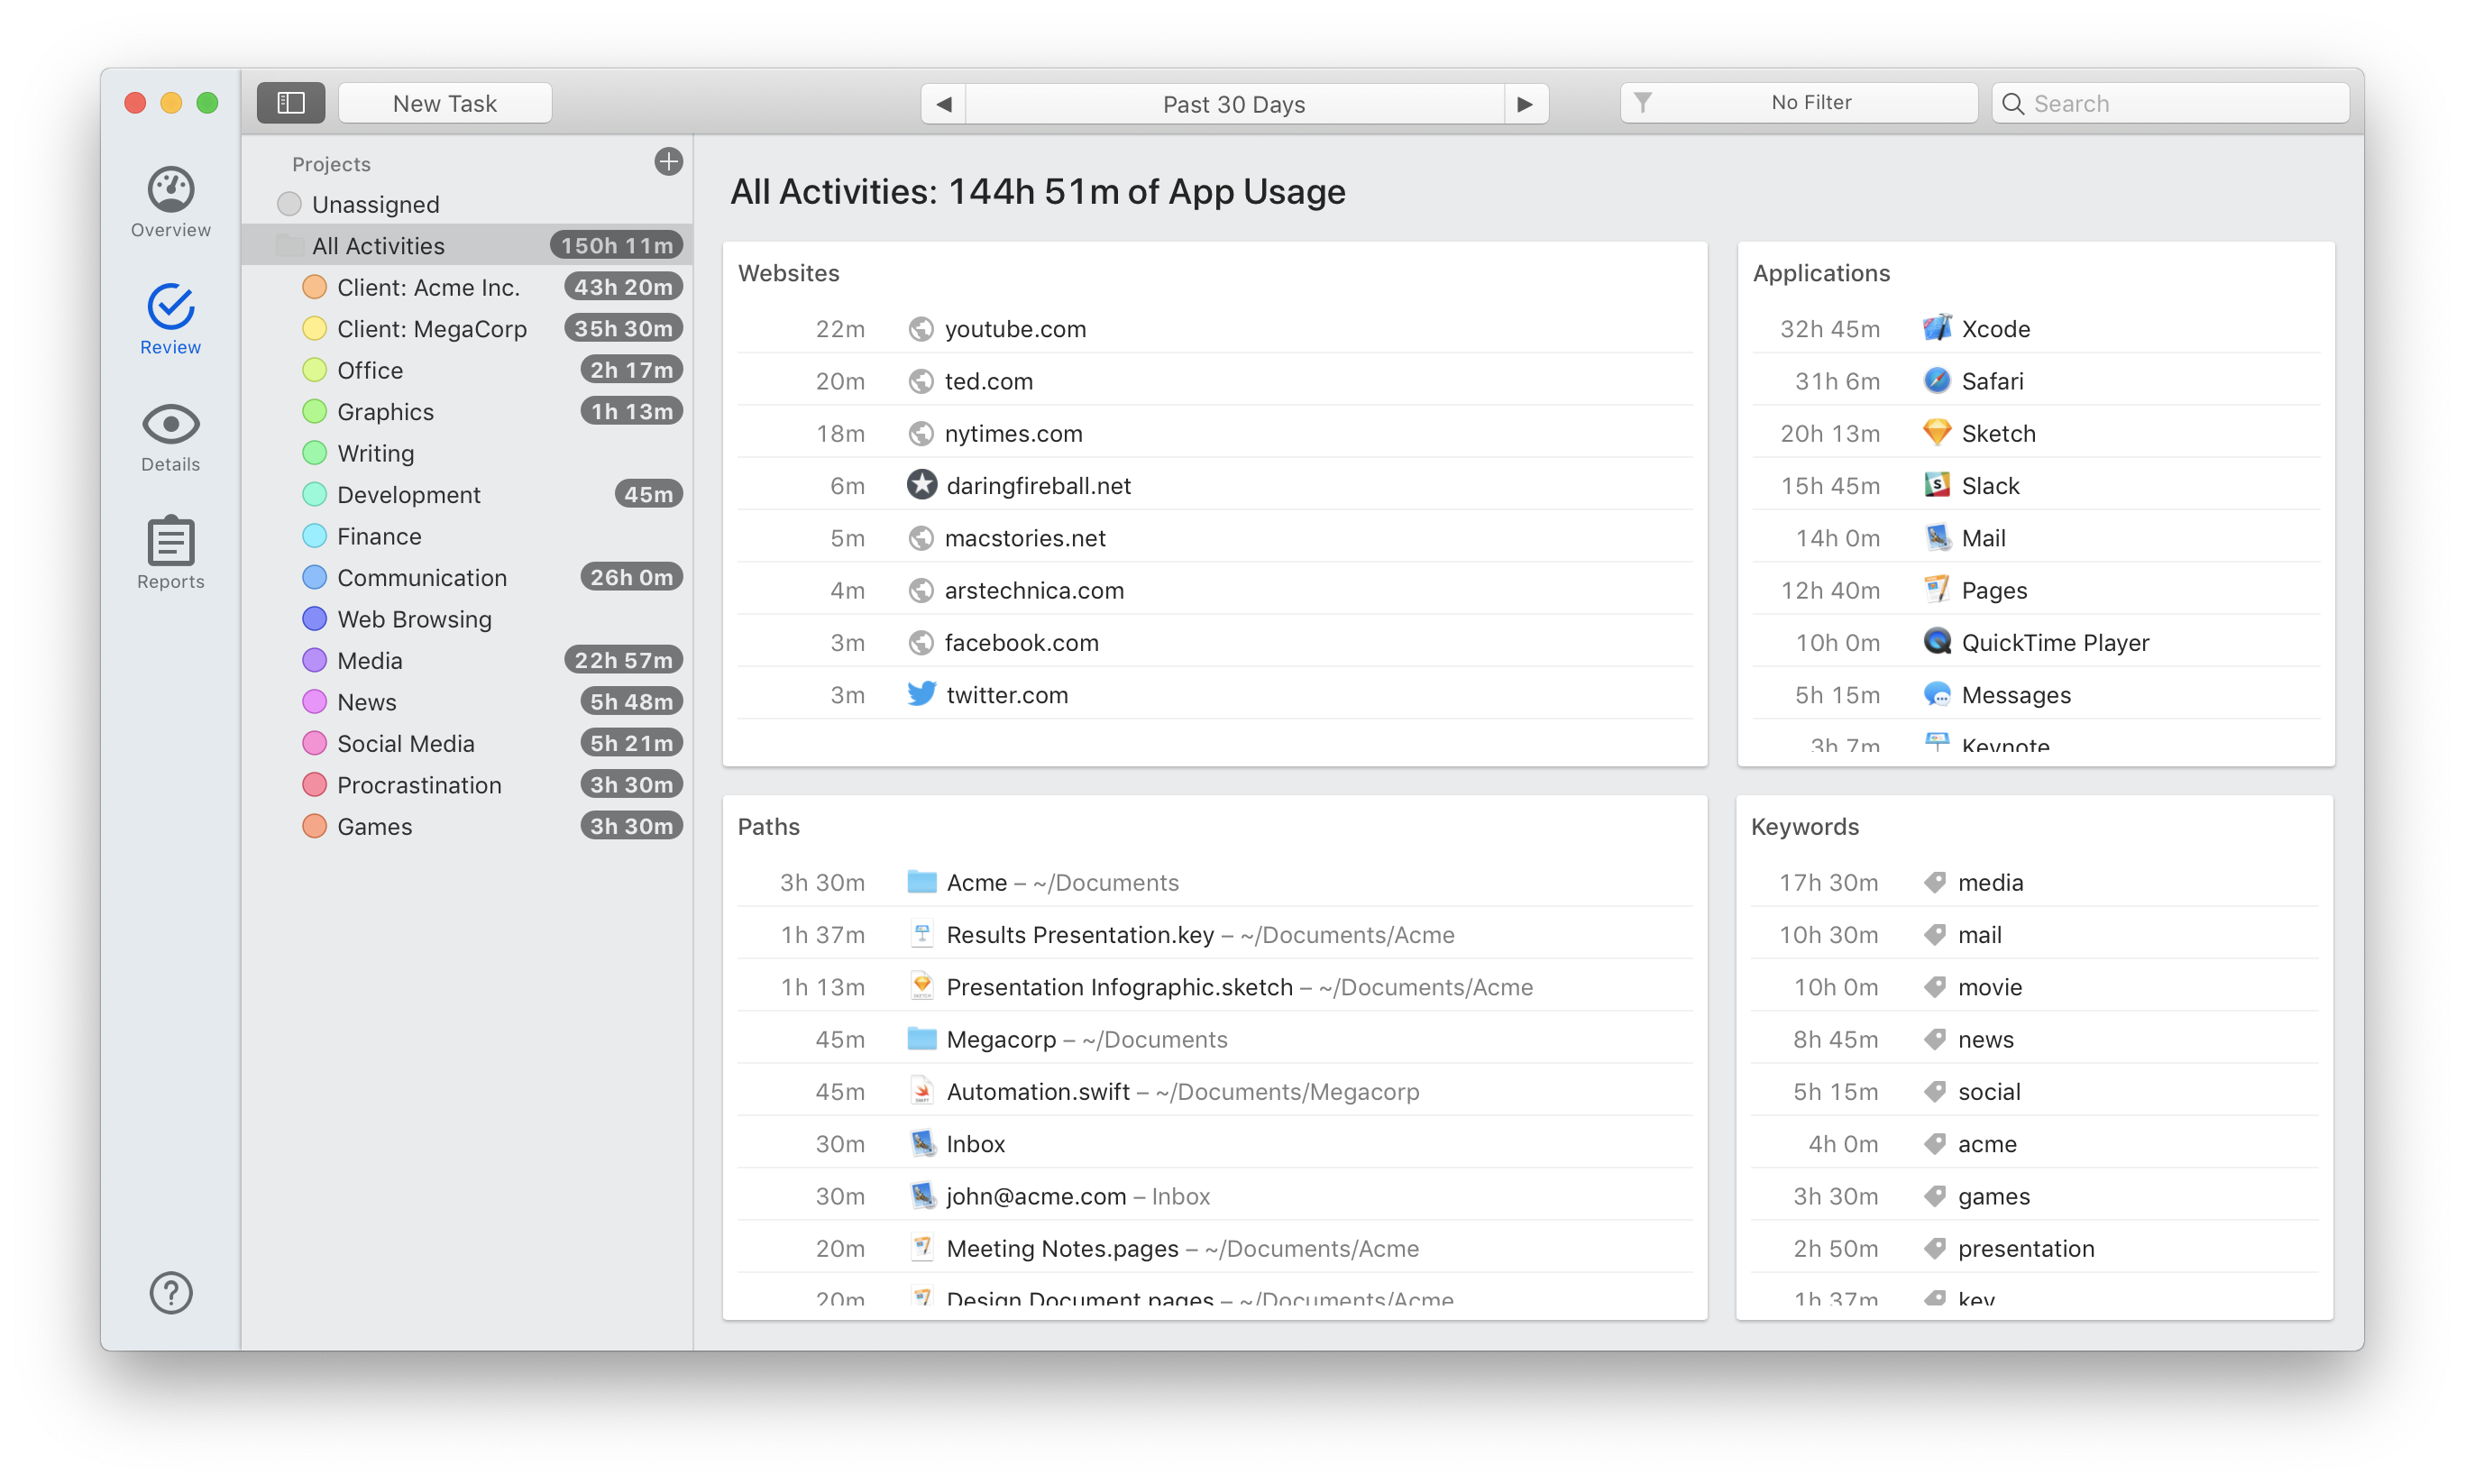
Now, open up your Review tab, where you’ll find more detailed specifics on how you’ve actually spent your time. This gives you an opportunity to further refine Rules for your Projects. To create additional Rules with Keywords, Applications, Paths, or Websites, simply ⌥-drag an element from this screen onto the Project.
Let’s say that you’re a freelance graphic designer, and you have a client that runs a boutique marketing agency. When researching graphics for this agency, you often find yourself Googling the phrase “digital marketing.” Timing is actually smart enough to recognize your Google search queries: To create a Rule that lets Timing know that this phrase is associated with that particular client, simply ⌥-drag “Google Search ▸ digital marketing” from the “Paths” card onto your project.
Likewise, you can perform the same action with specific URLs, applications, or keywords – which are simply all the words Timing finds in your website titles and document paths.
Over the next few days, continue to create Rules as necessary, and monitor your time usage.
Day 7: Assess Your Progress
Around the halfway point of your free trial with Timing, you’ll want to check in to take stock of your progress over the last 7 days. Go to the Overview tab, and adjust the time frame to “Past 7 Days” (Note that if you decide to use Timing long-term, you can adjust the time frame according to your preferences – even giving you a year-long overview of your working hours and productivity!)
Now, the Overview screen will automatically adjust charting to reflect your 7-day time usage:
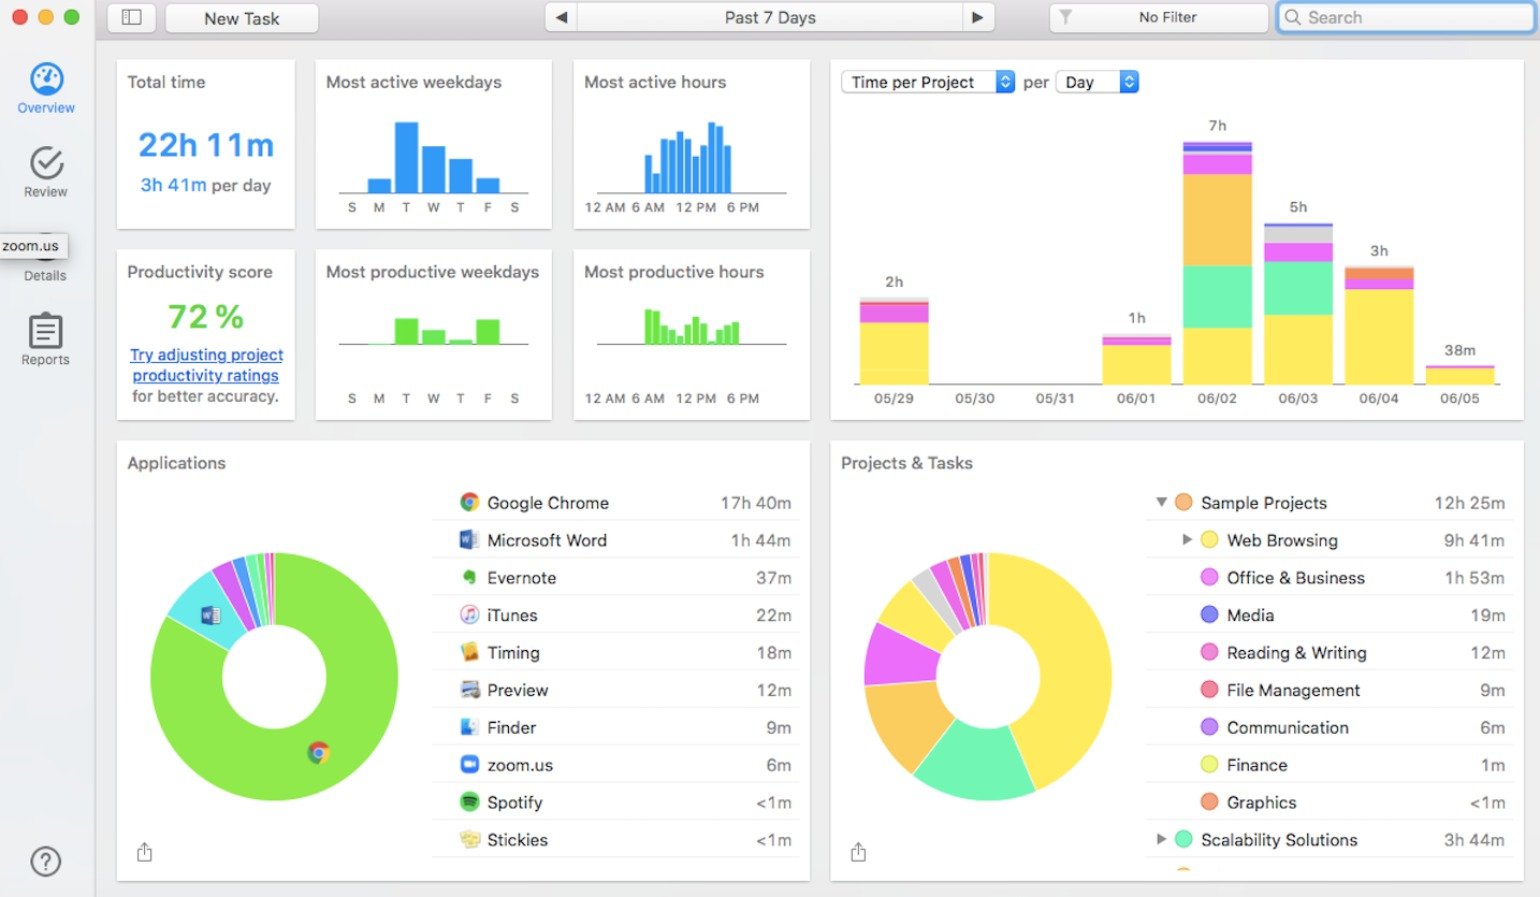
This user worked a total of 22 hours and 11 minutes, with activity peaking on Tuesday. Her most active hours were in the AM and afternoon, dipping around lunchtime, and she spent the vast majority of her working hours on Google Chrome.
Getting these sorts of insights into your working hours for a typical 7-day period can help you develop personalized strategies for upping your productivity. Here are some ideas:
- Take a look at your most productive day. What was different about this day as compared to the others? Did you alternate tasks, or did you stay keyed in to a single project for hours? Did you take a long break, or get started super early? Try to identify what made this day a success and develop patterns that mimic the rhythms of this day.
- If you find that you were far less productive than you had hoped, think through what may have distracted you from doing your best. You may even want to look at Screen Time on your iPhone, to check how much time you are spending on social media, text messaging, or other apps. If your iPhone is sucking away your focus, try putting it in airplane mode, or hiding notifications. Or, if distractions are on your Macbook more than your phone, try HeyFocus to block specific websites on your Mac.
- Set goals for your time usage. Do you want to achieve 7 hours of active work every weekday? Then use Timing to keep you accountable to that goal. Do you want to spend less than 5 hours per week on a particular client? Then, make sure you’re not exceeding that limit. To note down your goals in Timing, consider adding them in parentheses to your project names. For example, the client project’s name could become “Client A (5)” to indicate their 5-hour time budget.
Now that you have some thoughtful, strategic guidelines in place for your time usage, it’s time to start Week 2 with fresh new insight and hopefully, improved habits.
Day 14: Final Check-In
On the last day of your free Timing trial, perform a 2-week assessment of your time usage. Was there significant improvement from Week 1 to Week 2? How about Day 1 to Day 14? Of course, there will be unexpected variables that can affect your time usage (We know, life happens), but you should see an upward trajectory of productivity and activity. If possible, you may also want to look at income earned in Week 1 versus Week 2. Did you generate a higher income when you were more productive?
Then, you’ll want to take advantage of Timing’s reporting feature under the Reports tab. You can use Reports to generate detailed invoices for your clients that give them an accurate breakdown of how you used your valuable time to serve their brand or business.
Finally, it’s decision time. Would you like to continue using Timing to track your working hours, provide powerful insight, and help you improve your productivity? If so, welcome to the family!
Final Note: To learn more about how to get the most out of Timing’s powerful time-tracking, download the free trial and click here to sign up for our email course.